Twitch error codes could pop up on-screen, no matter the kind of device running your streams. The Twitch platform has to handle tons of multimedia and bandwidth connections every second, so errors are expected.
The Twitch error code 0x30231107 occurs in the middle of or before a gaming console stream. Streaming a beta version of games, using Twitch Beta, or some other technical problem might cause this error.
Knowing how to fix the Twitch error code 0x30231107 could be difficult without following proper steps. That’s why this guide provides every relevant detail to help you fix the Twitch 0x30231107 error code.
What is Twitch Error Code 0x30231107?
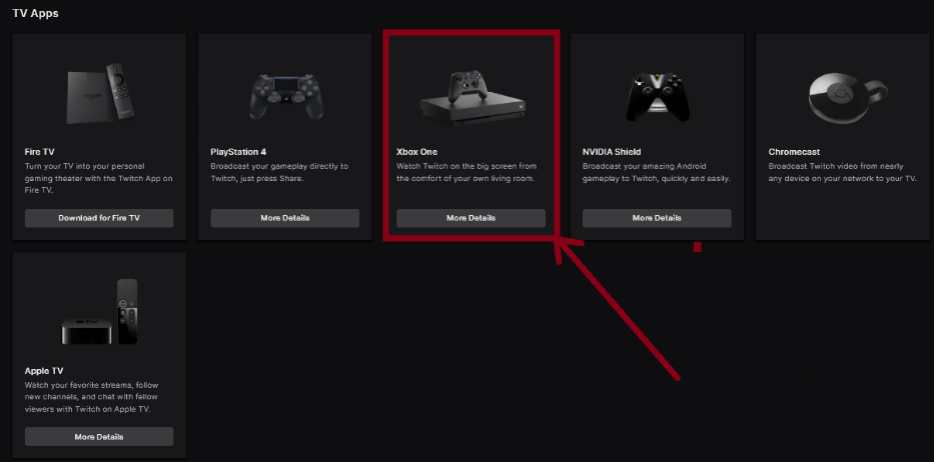
The Twitch error code 0x30231107 is an error page that displays in games that don’t have streaming functions activated. Developers might have turned off the option, and in some cases, beta versions of games might display this error.
The error code is common to streaming attempts of beta-version games on Xbox One or other consoles.
How to Fix Error Code 0x30231107 on Twitch
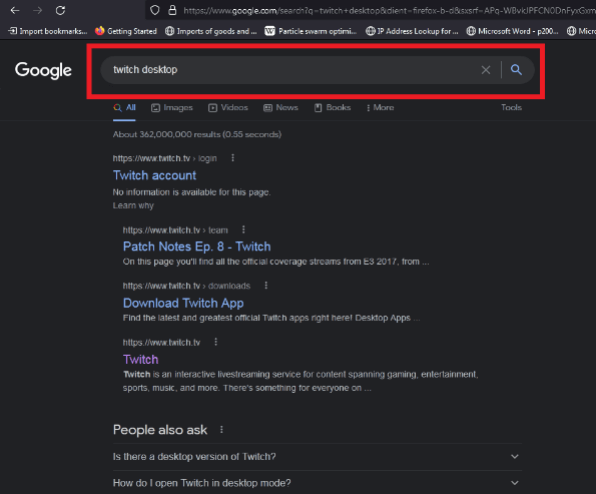
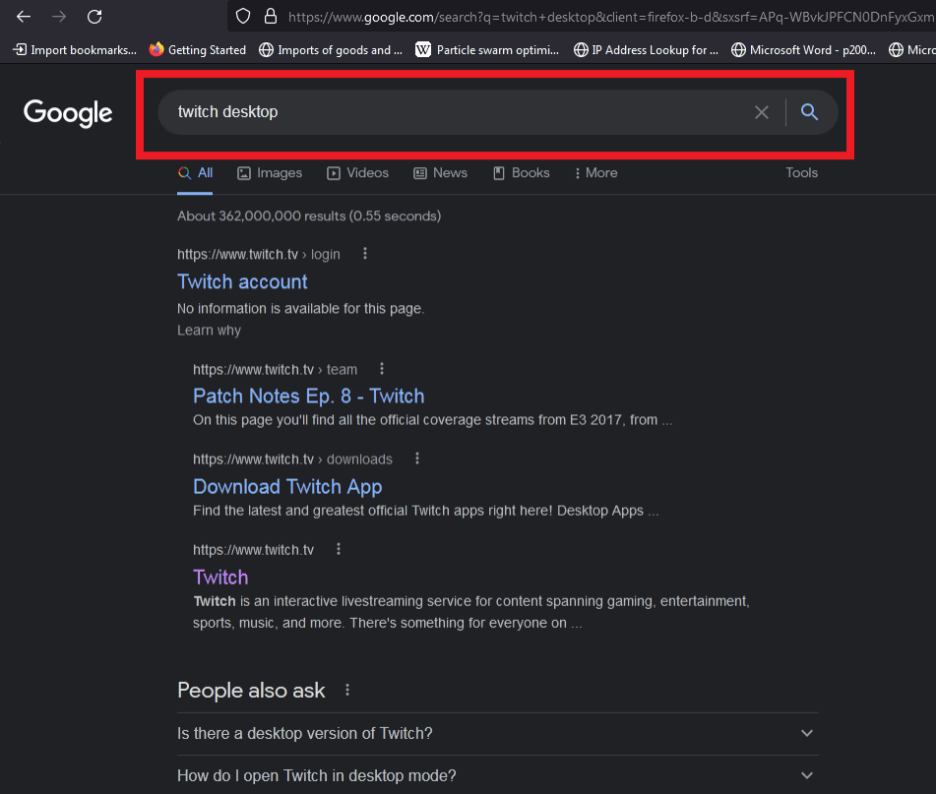
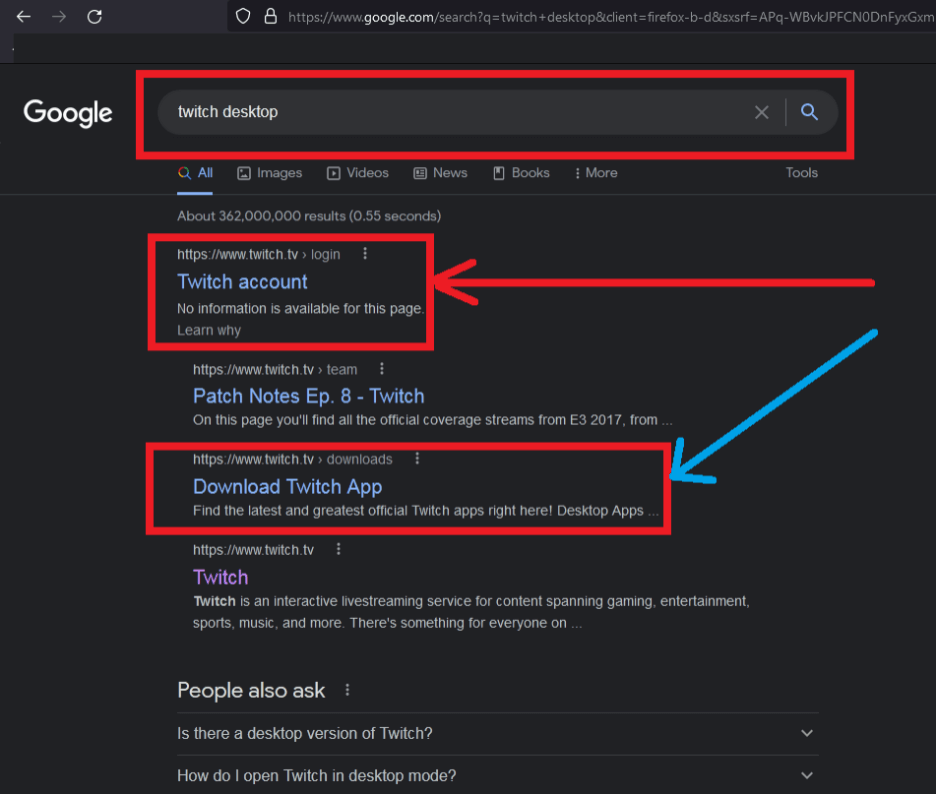
Step 1: Google Twitch
Google the keyword “Twitch” or “Twitch desktop” to access Twitch’s web links
Step 2: Download new Twitch app
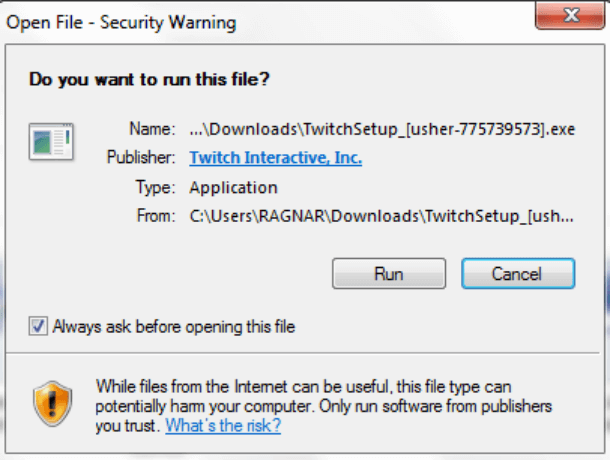
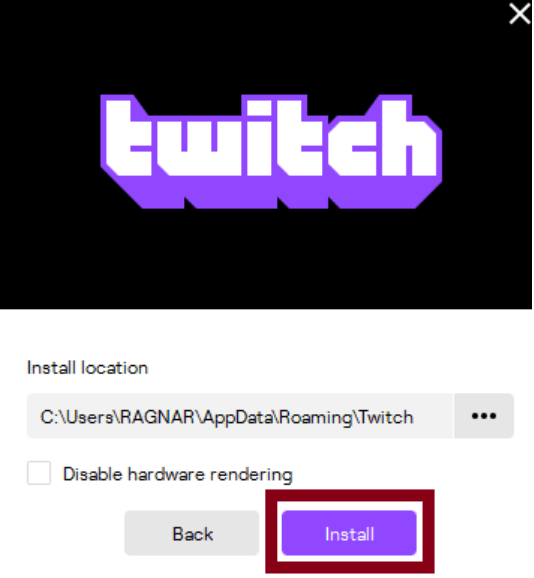
Step 3: Install Twitch and restart your device
Recommended Fixes for Twitch Error Code 0x30231107
The most recommended fixes for Twitch error code 0x30231107 on Xbox One are:
Installing the latest version of Twitch
Step 1: Google Twitch
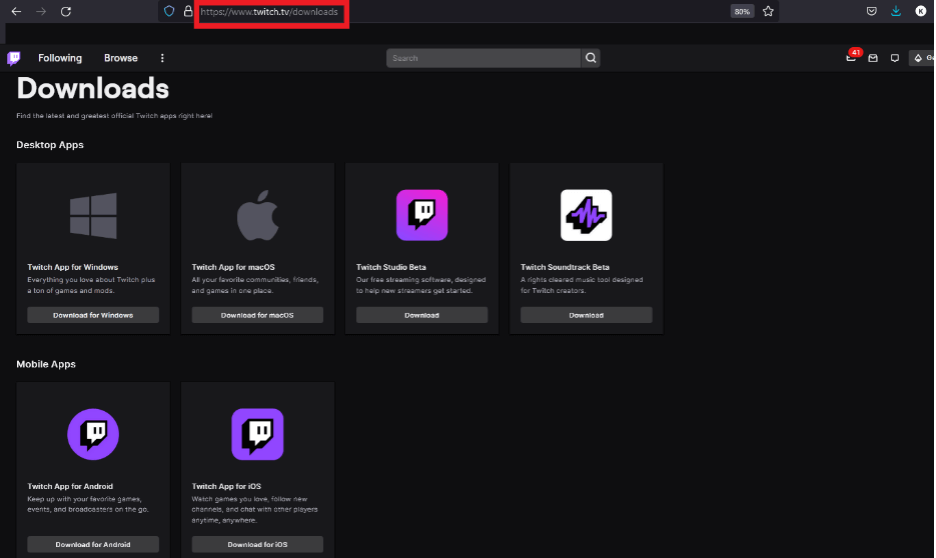
Step 2: Visit www.twitch.tv/downloads

Step 3: Download and install newest version of Twitch for Xbox One
Step 4: Restart your console after re-installing Twitch
Re-boot your Xbox One to make sure the newly-installed Twitch client software works properly. Next, try to stream the games that displayed this error to see if all issues have been resolved.
Streaming non-beta games
Step 1: Download and install latest version of Twitch
Visit twitch.tv/downloads for new client app for version for your device

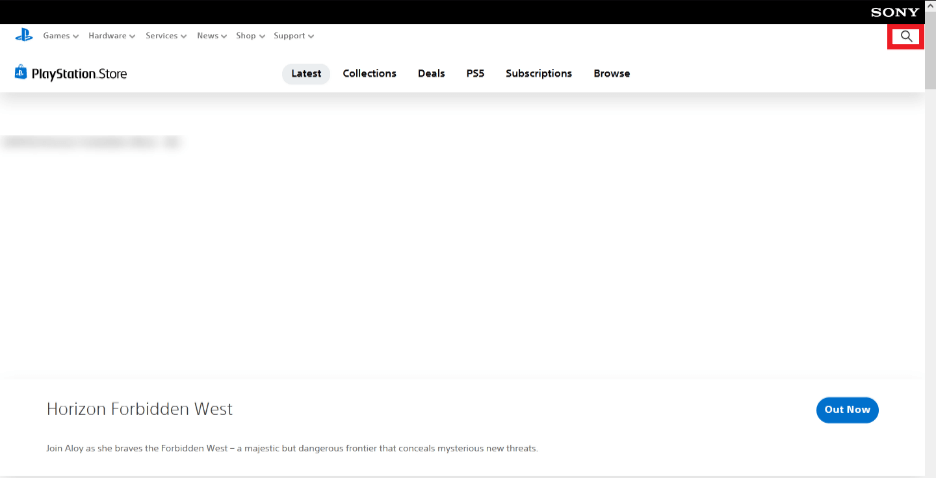
Step 2: Access gaming store
In this example, let’s say we access the PlayStation Store
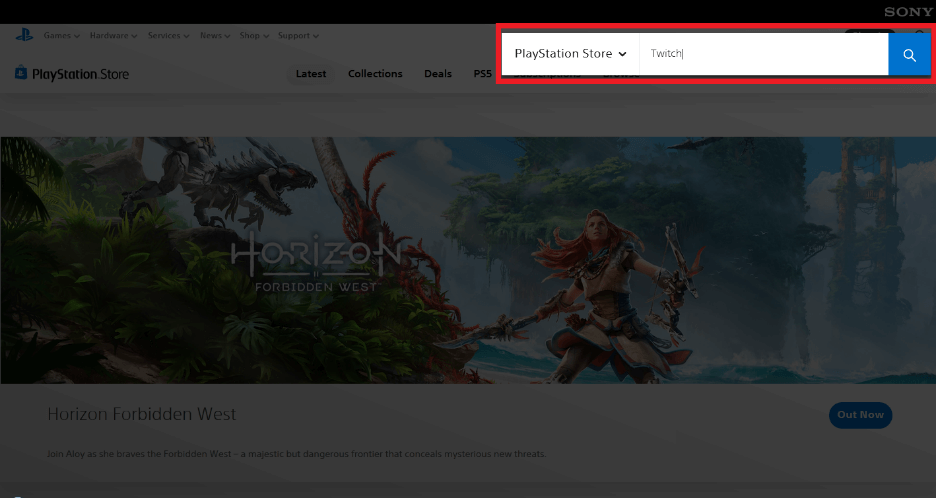
Using the Search bar (marked in red below), search for your preferred games.
Step 3: Download the non-beta version of your preferred game
Step 4: Restart your console and
Troubleshooting Steps to Fix Twitch Error Code 0x30231107
First troubleshooting method to fix Twitch error code 0x30231107: Leave Beta versions
Step 1: Uninstall Twitch Beta
Go to the Programs section of your device and uninstall Twitch Beta from installed client software.
Step 2: Re-install Twitch (non-Beta version)
Next, re-install Twitch from available options on the streaming service’s download page

Step 3: Launch a non-beta version of your preferred game and stream
Next, stream content from the non-beta game directly on Twitch to check if the fixes work properly.
Beta versions of several apps commonly experience glitches and might experience frequent bugging issues. Switching to proven versions of games and Twitch apps could be enough to fix the 0x30231107 error.
Second troubleshooting method to fix Twitch error code 0x30231107: Clear browser cache/cookies
Step 1: Open your browser
Step 2: Click on Menu
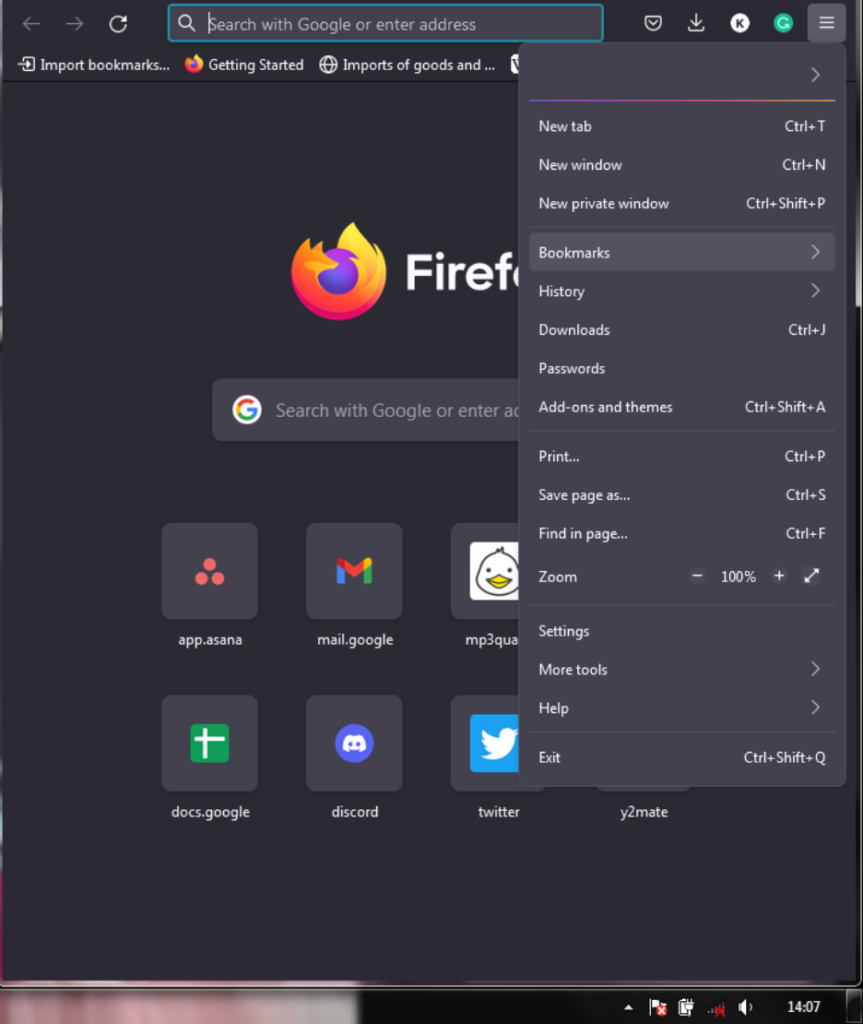
Step 3: Select ‘History’

Step 4: Click ‘Clear recent history’
Step 5: Check ‘Cookies’ and ‘Cache’ and tap OK
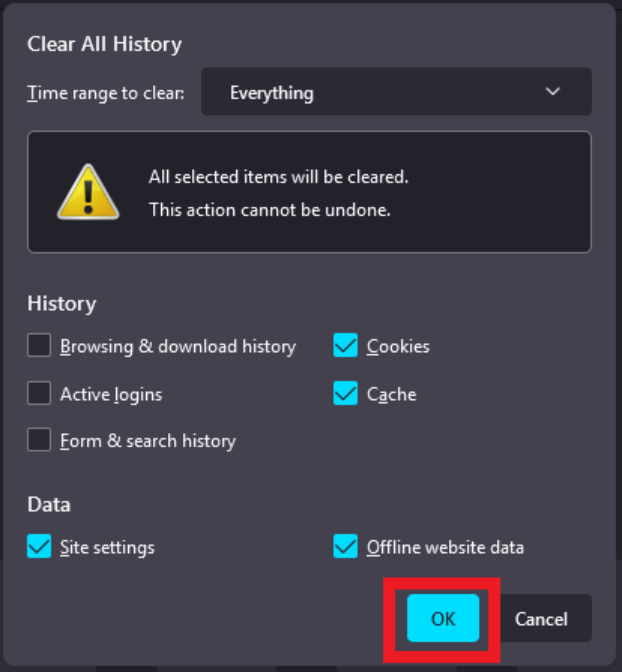
Be careful when using this option to clear your browser’s cookies. Uncheck all other boxes apart from Cookies and Cache to avoid losing your data.
Third troubleshooting method to fix Twitch error code 0x30231107: Disk cleanup (Windows)
Your PC may be using up massive memory space that could cause several errors in any installed programs. The following steps can prove useful to help clear up spaces on your PC’s main disk drive:
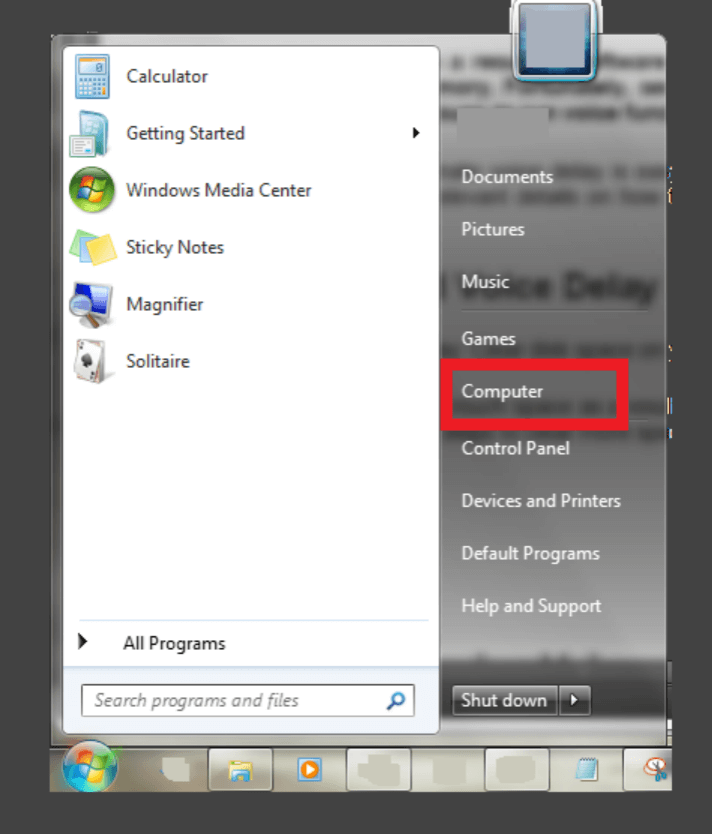
Step 1: Click Start button
Press Windows on your computer’s keyboard to access the Start menu. The menu appears as a pop-up window at the bottom left corner of your screen and displays different options.
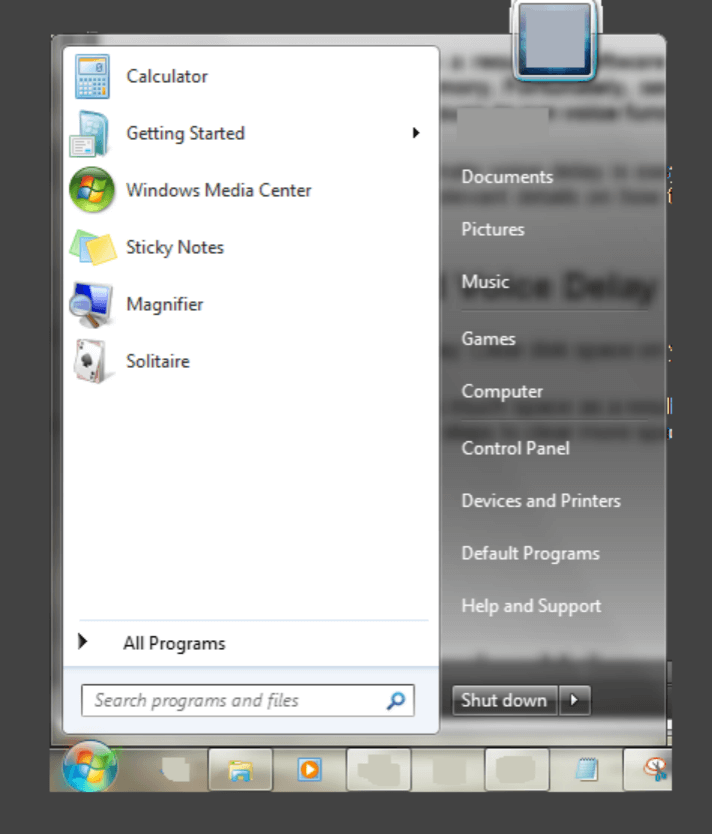
Step 2: Go to Computer
Next, click Computer at the right hand side of options on your PC’s Start menu. The click will send you to a window displaying basic information about your computer’s drives.
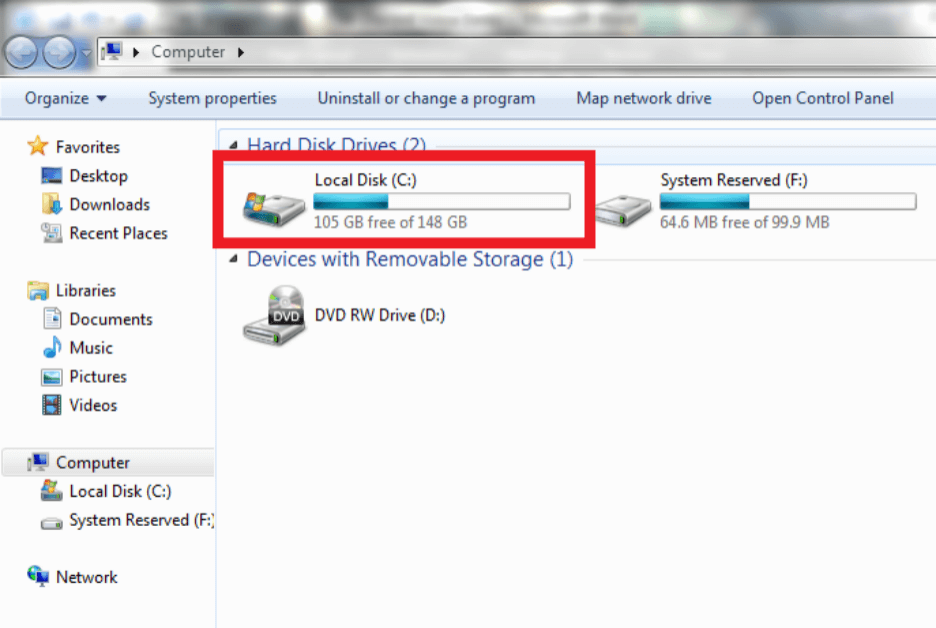
Click on Computer from the list of system options available on your computer. Clicking on Computer sends you to a window displaying your storage drives.
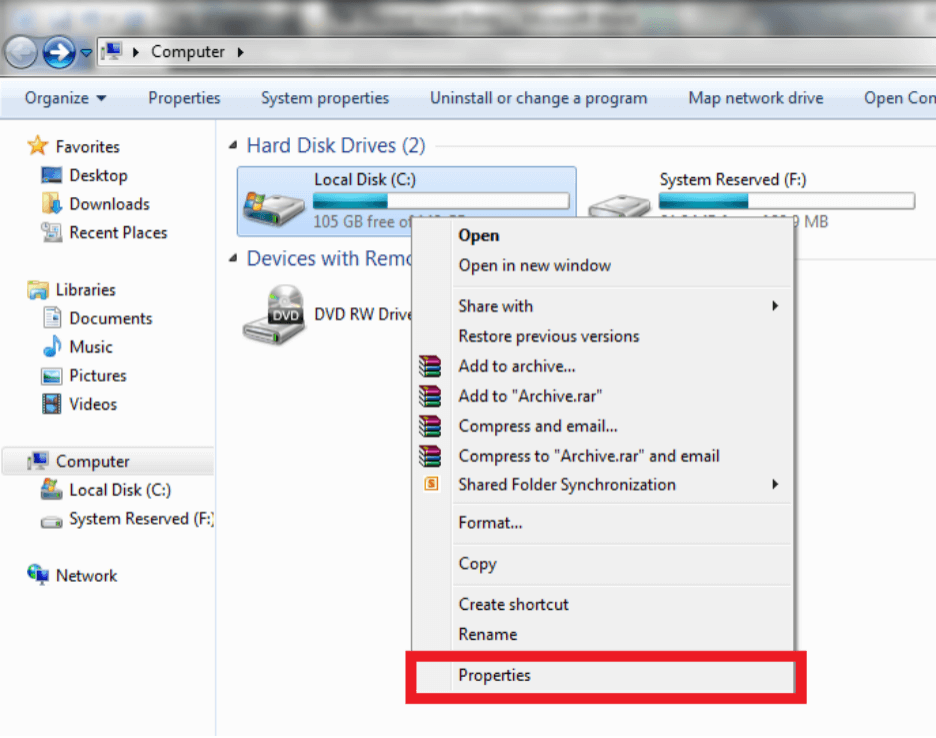
Step 3: Right-click your main storage drive and select Properties
Right-click on the main storage drive (with a Windows icon). Right-clicking the drive reveals a pop-up menu displaying several options about your PC’s main storage.
Next, click on Properties to access another dialog box with more options.
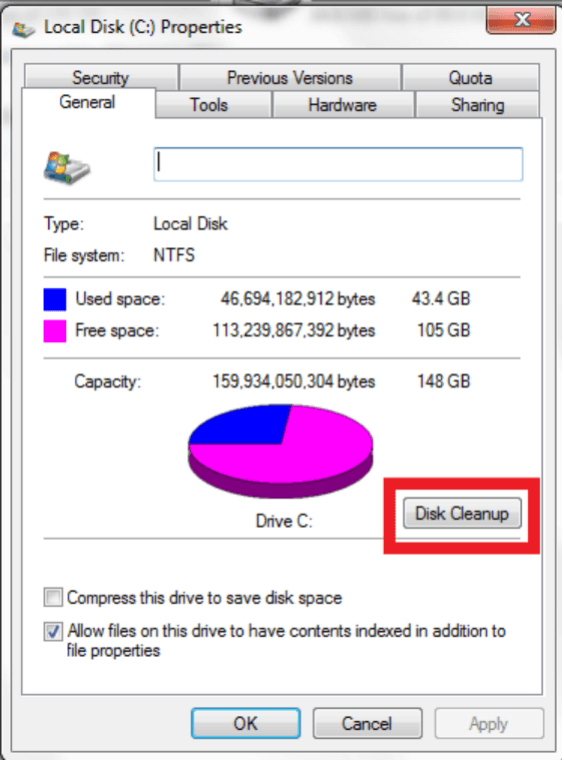
Step 4: Click Disk Cleanup
Click Disk Cleanup from the window to start a check of files irrelevant to your system.
Step 5: Select error files and click OK
Check boxes of error dumps and cached files not needed in your system.
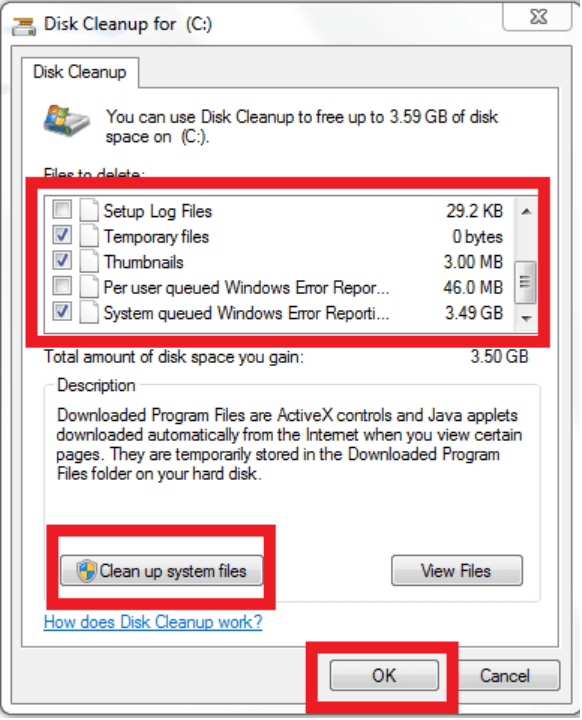
Next, click on Clean up system files and click OK. A pop-up window will ask you to confirm your choice to delete files.
Click Delete Files to complete the disk cleanup.