You’re not the only one if you haven’t heard of a platform camper or wedge camper as they’re also known. Many wedge campers contain a platform for sleeping that enables passthrough to the bed of the truck beneath, and they combine the comfort of a roof-top camp with the classic truck bed camper shell. If you prefer one, you can opt for a DIY wedge camper that is as functional as the ones sold at stores.
The good news is, you can DIY a wedge camper. In all likelihood, you can build one for $3,000 or less, assuming you handle everything on your own. At the very least, you’ll need a welder and a sewing machine. It’s helpful to have a mill, a router, and a laser cutter, but it’s not required. It takes approximately eight days to finish a DIY wedge shaped small camper trailer.
How to Make a DIY Wedge Camper

Step 1: Make the wedge.
The wedge would be created with 1.5″ broad (15 series) 8020 extruded aluminum, which you may be familiar with as the substance used mostly by Prinsu and Sherpa Racks for their horizontal bars, however, they are also frequently used to create panels for hutches in industrial applications and to start making some sturdy storage systems. These castings are really simple to work with and will speed up this phase of the build!
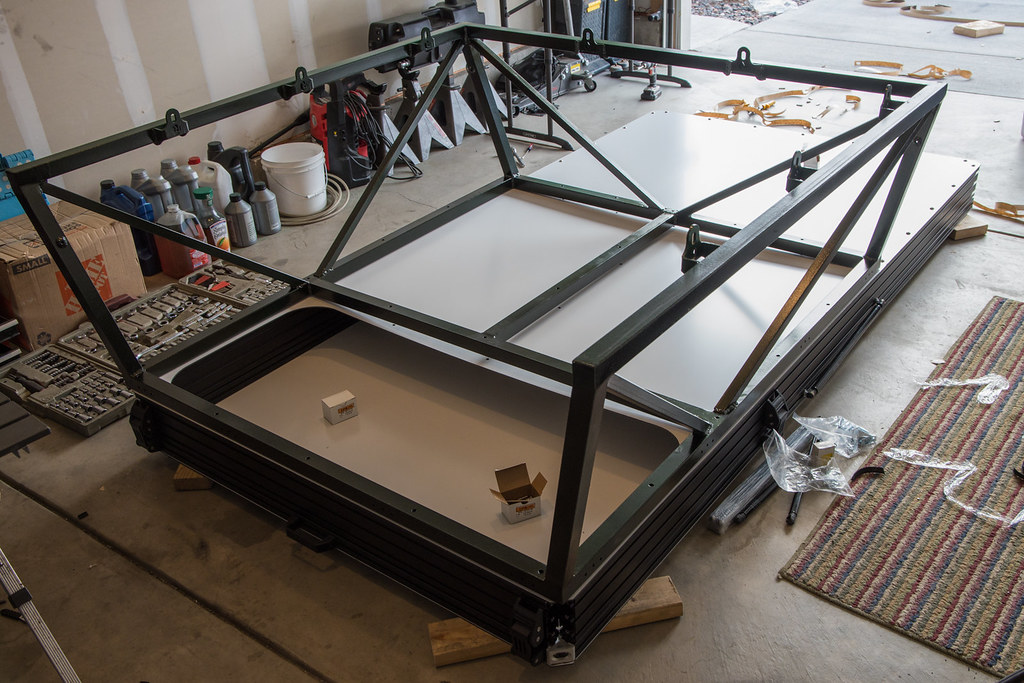
Step 2: Create the spaceframe.
You can start this phase by making a welding fixture out of 2×6 slats for the spaceframe. Since there are so many angles to maintain under supervision, the fixture was required. The ends tilt in while the front/back lean forward. The horizontal pieces at the bottom and top are the sole orthogonal elements. Welding progress is being made. The tube is 1.5″ square with a 0.065″ wall thickness. I chose square tubing over round tubing since it was quicker to fix, cope, connect seals to, pierce through, and fasten onto.
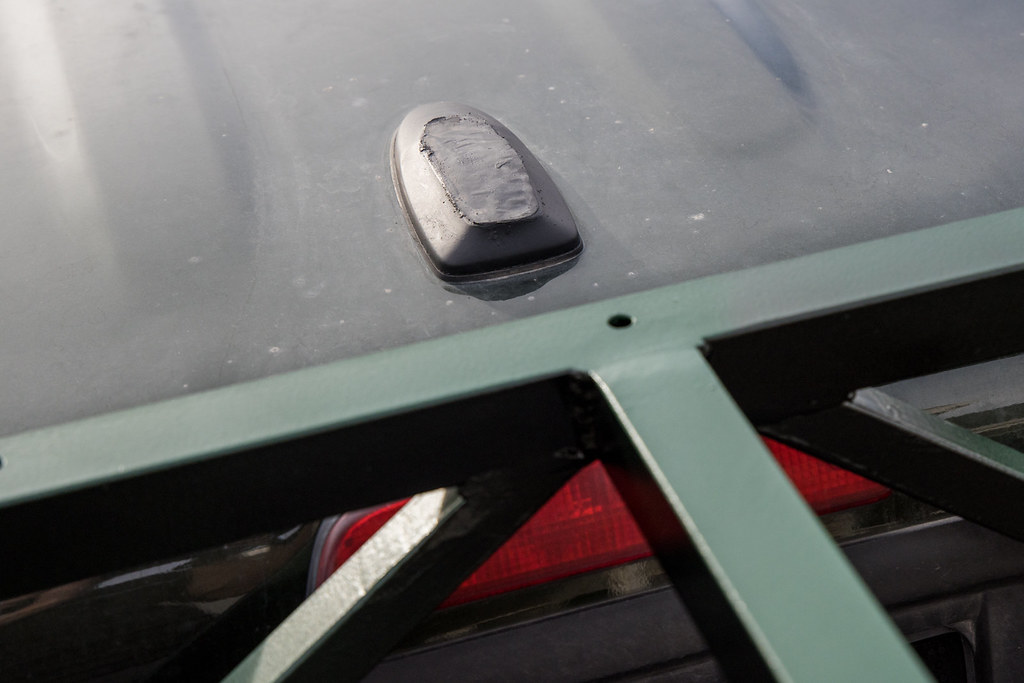
Step 3: Remove the antenna.
You had to do something regarding the shark fin transmitter for such Satellite Radio in order to prepare the vehicle for the camper. The fin component is basically worthless, as it has no antenna pieces and is made entirely of plastic. You have to remove the antenna, cut it down, and then epoxy-sealed it.
To do so, you must first remove the topper. You can utilize window flashing butyl adhesive to cover the perforations in the bed fence (kudos Jim Bob for the advice) and a “double bulbed” cover for the unibody frame and bed rail connection, with a solitary bulbed seal for the bed rail out front (behind the cab). You would like the pressure to be largely on the interior of the rail, as indicated below, with the layout of the OE bed sides. In the direction of the outside, there is a lot less power.
Step 4: Set up the tent.
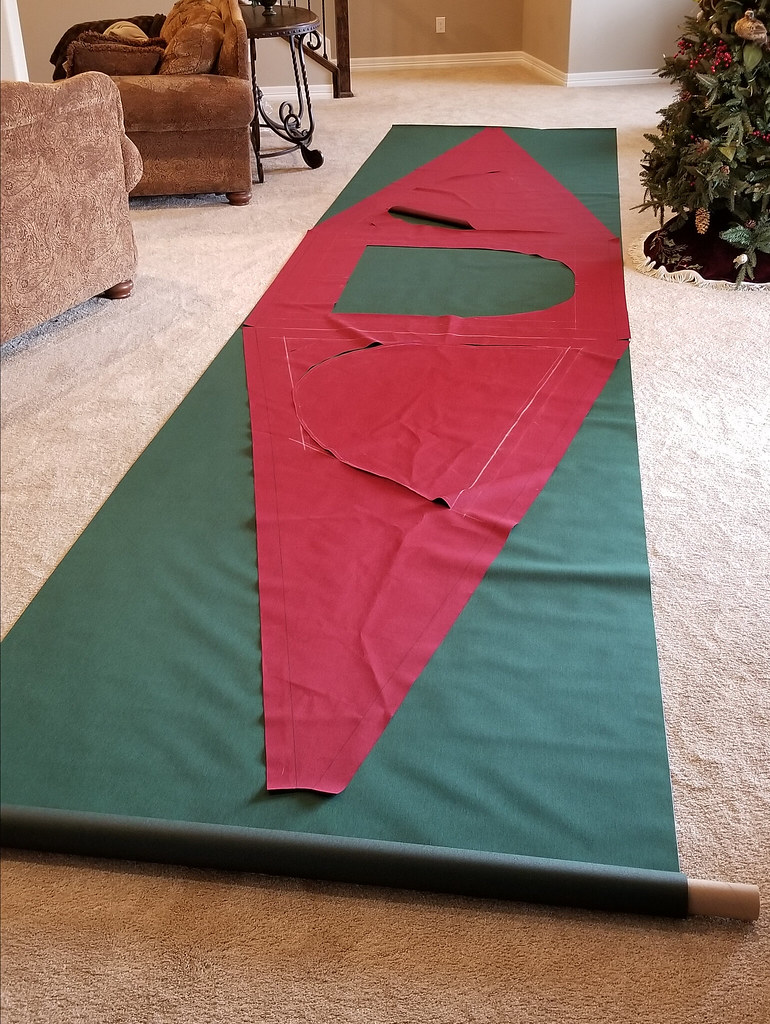
With the tent fabric, you may go in a variety of directions. The green layer is for a secondary canvas the person was creating for a friend, and the material they’re using is 600D Polyester featuring a Polyurethane covering for waterproofing. There’s literally no limit when it comes to patterns and color selections on the internet!
The height of the fabric (59″) is determined by the width of the content, which in turn determines how much the tent can expand. Be careful to leave a 2″ margin all the way around for subsequent usage.
Step 5: Install the bedding for your DIY wedge camper.
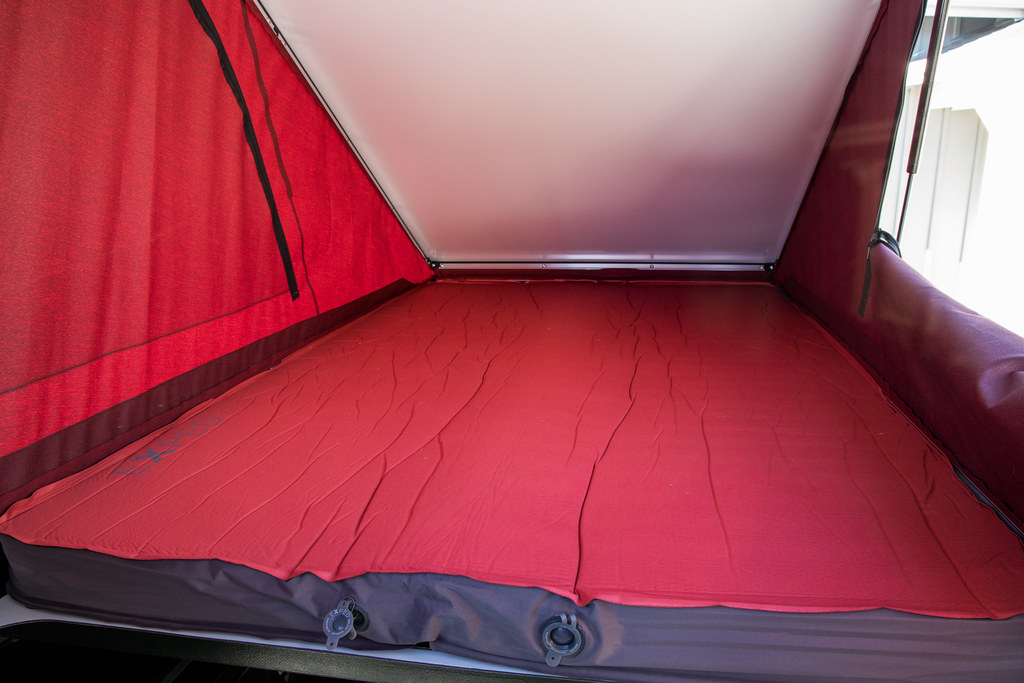
The bedding is the final component of this exciting puzzle! This one right here is an Exped Megamat, an extremely comfy 4″ hybrid air/foam bed. A 3″ highly dense memory foam mattress cover is another less expensive choice, but it will be noticeably bigger (9 lbs vs. 40 lbs).
There will be 2″ of area for comforters, cushions, and tent material because this mattress is 4″ deep and the camper’s closed internal height is 6″. The majority of the tent material, on the other hand, will store in the region of the entry/exit entrance, leaving plenty of room! For even more space, you can collapse the mattress!
Is it worth it to build a wedge camper yourself?
A DIY wedge camper is not an easy task to do. Building one for yourself can take weeks up to months of work and effort. Not to mention that it can be costly depending on which materials you want to utilize. However, the process can be tons of fun, which will make the end product a really awesome bonus. A wedge camper you can bring with you on your future adventures with friends, loved ones, family, or yourself is truly exciting to think about. The work, time, and effort will all be worth it once you’re inside the camper snuggling comfortably.