While many streamers are able to invest in multiple monitors to enhance their streaming experience, some can only afford to buy a single monitor. Conducting a stream with a single monitor setup might seem difficult but certainly not impossible. Don’t let it stop you from creating and sharing your content with the whole world. Read on to learn how to stream with one monitor.
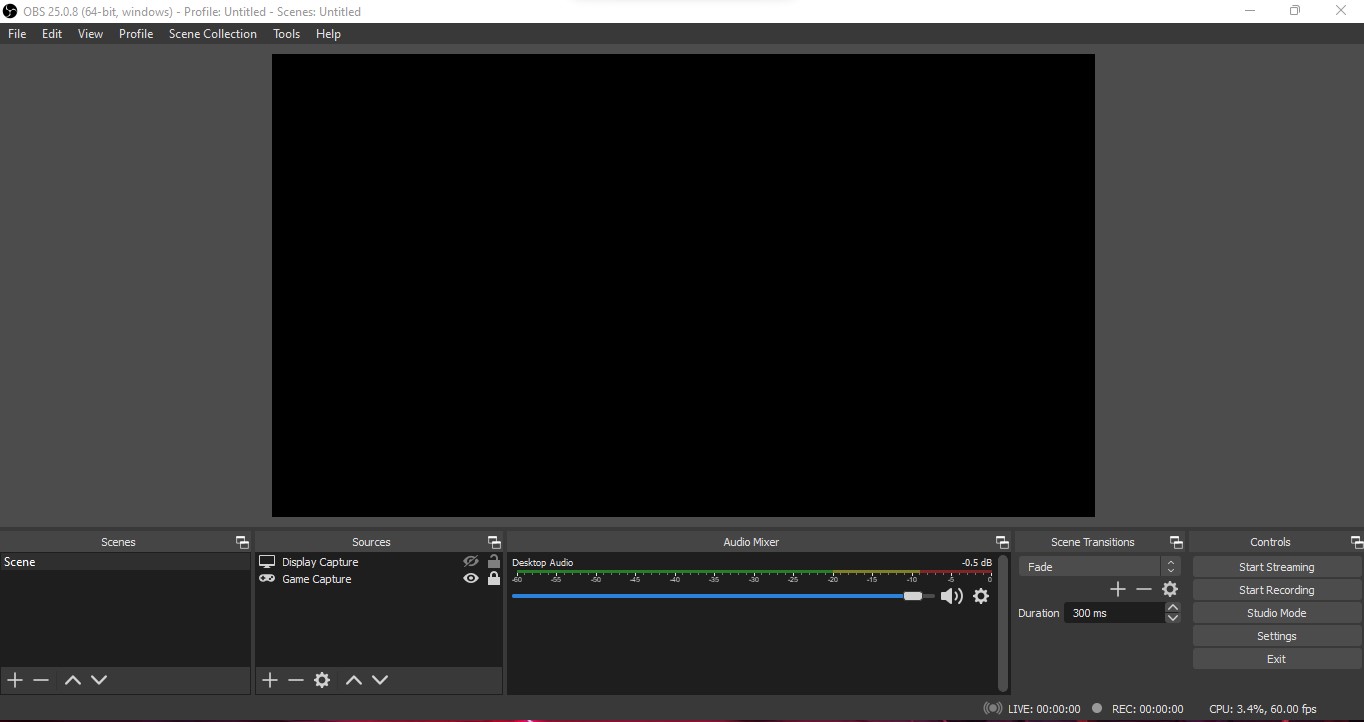
To set up a single monitor stream first, we need to install a streaming application. For this scenario, we are using OBS. After installing OBS, we must set up the settings.
What problems do streamers face with a single monitor?
Before going into the benefits of using a single monitor setup for streaming, it’s important to understand the challenges facing streamers when using just one screen.
1. Limited screen real estate
The limited screen real estate is the most obvious disadvantage of a single monitor setup. Content creators and streamers often need to juggle multiple windows and applications simultaneously, including their streaming software, game, chat, alerts, and more.
With a single monitor, fitting all the said elements on the screen can be challenging, potentially leading to a cluttered and disorganized streaming setup.
2. Multitasking challenges
Streamers must be able to multitask efficiently. They need to manage overlays and alerts, adjust audio levels, monitor their stream’s chat, and interact with their audience, all while focusing on the content or gameplay they are streaming. The multitasking can become more cumbersome using a single monitor setup, affecting the overall quality of the stream.
3. Space for overlays and widgets
Overlays and widgets help streamers enhance their viewer’s experience. The elements can include webcam frames, event trackers, donation tickers, and more. With limited screen space, integrating all the said elements seamlessly without obstructing the stream can be challenging.
What are the benefits of a single monitor setup for streaming?
Using a single monitor setup for streaming offers several advantages, especially if you’re just starting out or your space and resources are limited. Here are some of the benefits of using a single monitor:
1. Cost-efficient
Buying a single monitor costs less than getting a dual-monitor configuration. You don’t need to invest in a second monitor, which adds to your expense.
2. Simple
You don’t need to be a techie to set up a single monitor. Particularly, beginners will find a single monitor setup less overwhelming,
3. Focused
Using one monitor allows you to focus more on your content, chat interaction, and the quality of your stream. You’re less likely to be distracted by another screen.
4. Reduced hardware requirements
A single monitor setup requires fewer hardware resources. You won’t need a powerful graphics card or additional resources to drive multiple displays.
5. Aesthetically pleasing
Your workspace looks more organized and cleaner by using one monitor. It eliminates the need for extra mounts and cables associated with multiple monitors.
It should be noted that while using a single monitor comes with benefits, a dual-monitor configuration can offer more convenience and flexibility in some cases. With two monitors, you can dedicate one for your streaming software or game and the other for alerts or chats.
Ultimately, the choice between a single or dual-monitor setup for streaming depends on your specific needs, preferences, and available resources.
How to set up your stream with a single monitor?
Setting up your stream with a single monitor isn’t a difficult job. The changes in the settings tab that we need to do are mentioned below:
1. Choose your streaming platform.
First, you need to open the settings window and go to the Stream tab. In that tab, you will see the option to select the streaming service that you want to use. There, you can find options such as – Twitch, YouTube, Facebook, Restream, and Twitter. Select your preferred platform.
2. Log in to your account.
You will need to connect to the account of the service that you will be using. For Twitch, you will have to connect to your Twitch account. There is an option to use the stream key, which you need to stream. By pressing the button Get Stream Key, you can get the stream key. Just copy the stream key and paste it into the Stream Key section in OBS. Then, hit Apply.
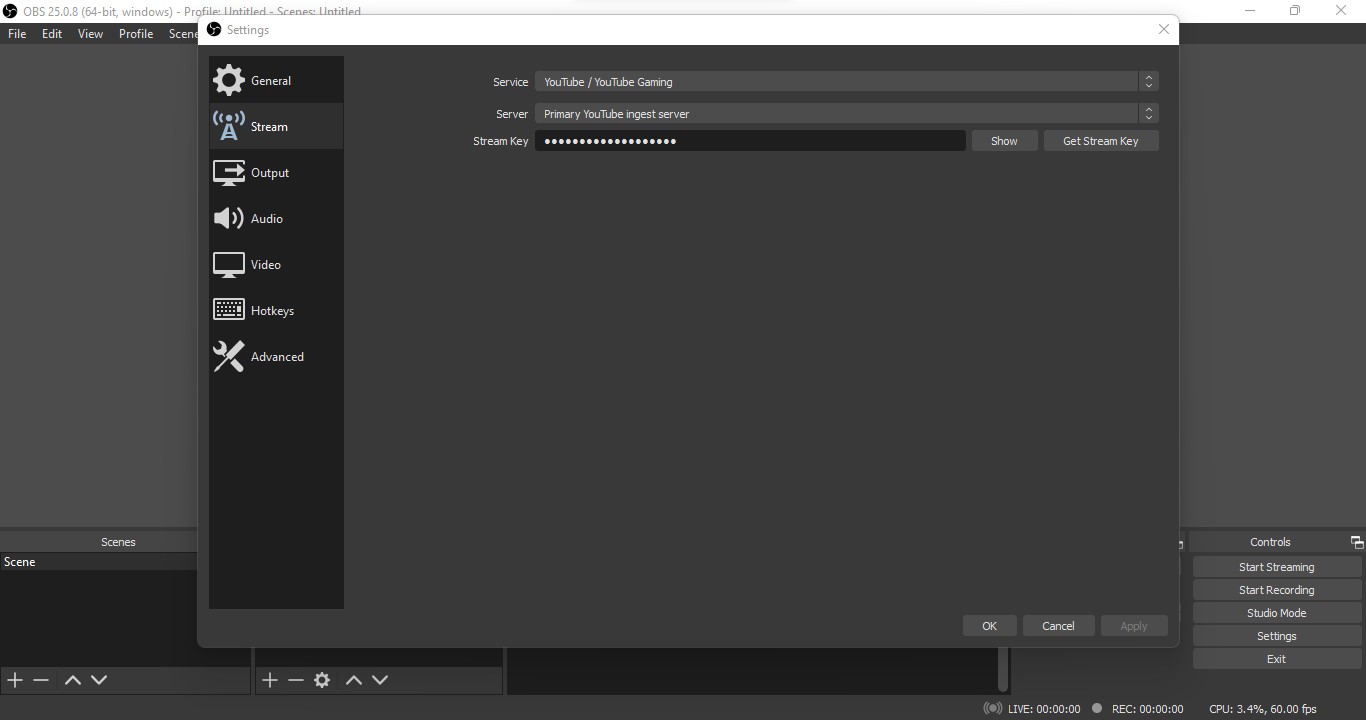
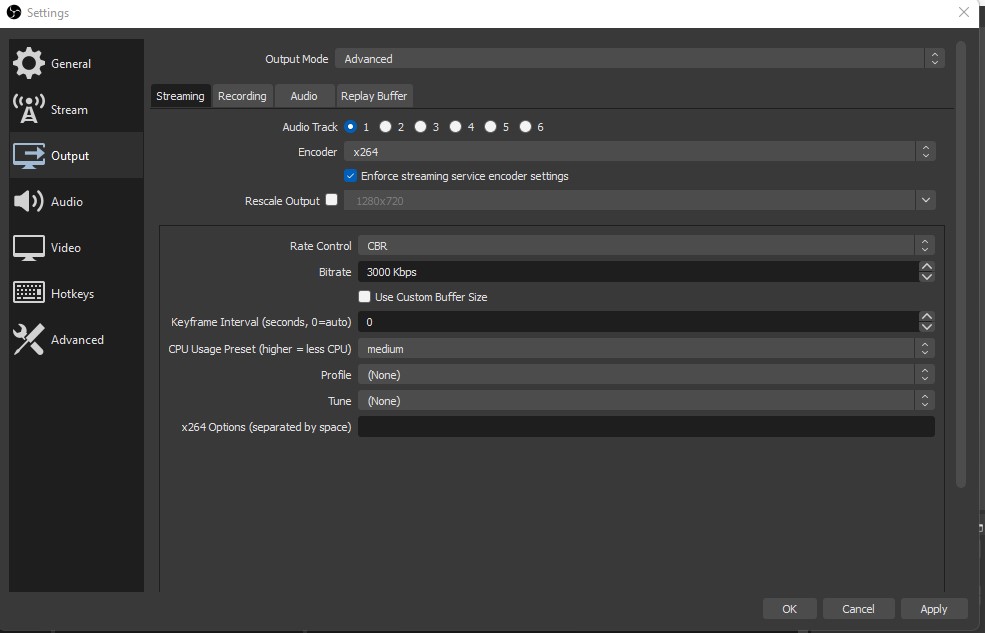
3. Set the encoder based on your preference.
Then, you can set the bitrate based on the resolution.
Setting up a scene/display
- Go to Sources and press the plus icon in Sources and add display capture.
- To record your voice, add an audio input capture option.
- Press Start streaming and you’re done.
How to utilize other devices while steaming with one monitor?
Usually, streamers need to see their chatbox, stream, and streaming application to see if everything is working. By using a second monitor, a streamer can easily attend to such tasks. However, if they do not use a second monitor, they can utilize other smart devices.
To check what the viewers are saying in the chatbox, a streamer can use a smartphone to open up the stream using the stream link, read the chatbox, and see if the stream is running well. The streamer can also moderate and chat with other people easily without cluttering the stream display.
How to use OBS chat overlay for streaming with one monitor?
For this, we will need to use StreamElements. The steps for setting upstream labs:
- Go to the StreamElements website and log in using the streaming service you will use.
- In the dashboard, there is a tab called Streaming Tools. Press the streaming tools tab and press my overlays. Press creates a new overlay.
- Then, you will get the option to set up the chat overlay size/resolution. Select custom and set your custom resolution.
- Then, press Start. Select the plus icon or add widget option and then press the stream tools button and then select the option to add chat.
- Then, you will be greeted with different options to customize text size, fonts, colors, background colors, etc. Select the options according to your preference. Click Save on the top right corner and name the overlay.
- There is a copy option on the top bar of the website beside the preview option. Press that button to copy that link and then go back to OBS in the sources tab select the ‘+’ icon and then select the browser option.
- In the browser options, on the tab’s URL section, paste the copied link. Then, set the width and height based on the width and height you set in the stream elements overlay and press OK.
- Then you will get your chat window on your viewport. Move around the chat and place it in the location where you want it. Also, make sure the browser source is above all the sources.
How to stream with one monitor: Key takeaways
While a single monitor setup for streaming may come with challenges, it’s entirely feasible to create a professional and engaging stream with the right optimizations and upgrades. By carefully organizing your software, mastering shortcuts, and maximizing your screen real estate, you can provide an exceptional viewing experience for your audience, even with just one monitor.
As your channel grows, you can always explore the option of adding a second monitor to further enhance your capabilities as a streamer and broaden your audience base.